Cover Sizes
#Introduction
A book can be printed in a variety of sizes. There are, however, a few sizes that all publishers consider standard. For the sake of discussion, we will discuss only the U.S. sizes in this documentation. Another consideration when creating a cover design is the resolution of the digital file. A cover should be created in high resolution. The standard resolution for a cover file is 300dpi (dots per inch). A file created at 300 dpi will print well when the cover is printed for a book. It is possible to use a lower resolution, perhaps as low as 150dpi, but there is a danger of a blurry, or pixelated printed image as the resolution is reduced. It is also possible to use a higher resolution image, but very little is gained in the quality of print by doing so, and the print and edit time is increased due to a large file size. All discussion in this document will assume a 300dpi image.
#The Standard Sizes
For the sake of discussion, we will use the following standard sizes:
- 5 1/2 inches x 8 1/2 inches
- 6 inches x 9 inches
- 8 1/2 inches x 11 inches
- 8 1/2 inches x 8 1/2 inches
#Sizes in Pixels
The Biblio Simple Cover Designer (BSCD) uses pixels for sizing purposes. When creating a new cover, you will be asked to furnish your cover size in pixels. Here are the pixel values for the standard sizes:
- 5 1/2 inches x 8 1/2 inches--1650px x 2550px
- 6 inches x 9 inches--1800px x 2700px
- 8 1/2 inches x 11 inches--2550px x 3300px
- 8 1/2 inches x 8 1/2 inches--2550px x 2550px
Getting Started
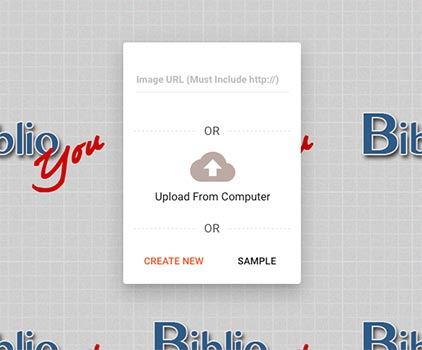
There are two ways to create a new cover file in the BSCD. Either click the "Create New" link and enter the pixels values for your book (see above), OR upload a background file from your computer. Note that an uploaded background image may not be the proper size for your new book, so you may have to "Resize" the cover to proper pixels once it has been uploaded (Make sure to deselect the "Maintain Aspect Ratio" box to ensure the input of accurate values). The orientation (Portrait vs. Landscape) should be taken into consideration before choosing an image for your book cover background. Most books, and the standard sizes listed here are all portrait in orientation. It is possible to create landscape oriented covers using the "Create New" link, and the values derived fro the pixel calculator linked above.
Background Images
Adding a background image is a great way to start setting up a book cover. It is very easy to create a simple cover by placing an interesting image as your cover background. Personal photos, public domain images from the internet (Must not be copyrighted), and stock images from royalty free websites offer a wide variety of clean, profeesional looking backgrounds. Here are a few examples of this type of cover.




Here are a few stock image websites that offer images that can be used in your book cover. There are many on the internet to choose from. The cost of the images range from free to several hundred dollars. Makes sure that the image file that you download is high resolution/approximates the pixel values for your cover. Also, be aware that some images require a license for book publication. The standard license may not be copyright compliant. Make sure that the license that you purchase covers use for your book cover.
Free Images
123rf
Dollar Photo Club
DreamsTime
The image(s) that you use in your book cover will need to be stored on/downloaded to your computer. When choosing the
"Open-->Upload From Computer" link, you will need to navigate to the image and choose it to upload to the BSCD.
Front and Back Covers
The front cover of a book is the first thing that a potential reader will see. It is said that "You can't judge a book by it's cover," but a good front cover can certainly help to sell a book. A professional cover designer might charge hundreds, or thousands of dollars, and it might be worth the cost to forward the sale of an author's book. Many authors, however, are unable to afford the added cost, and yet would like to have a nice clean cover for their book. The BiblioYou Cover Designer is a free tool for creating both the front, and the back cover of a book.
Ah, the back cover. Many authors neglect the importance of the back cover for a book. When a potential reader picks up a book after seeing a great front cover, the next thing that they do is flip the book to look at the back. They are looking for information about the book; what it's about, why it's interesting, and why they should buy it. An author should make sure that the back of the book includes text and graphics that will convince the reader to buy the book.
Wraparound Covers
In the case of a paperback, or hardcover book, a cover file is created that combines the front, back and spine files into one cover. It is not recommended that BSCD be used to create a full cover because there are usually adjustments that need to be made for the final product. The tool can be used however to create a wraparound cover if necessary, and the file should be usable by the final publisher. To do so, use the values in the Cover Sizes section above for the front and back covers, and use the values calculated in through the two links below.
Example: A 6" x 9", 100 page, 20# bond paperback book would use the initial settings in the "Create" function of the BSCD of 3684 pixels x 2700 pixels.
Width = 1800 px (Back cover width) + 1800 px (front cover width) + 84 px (.28") = 3684 px
Height = 2700 px (Height of full cover will be the same as the height of the front & back covers)
Inches to Pixels calculator (Dropdown to 300 DPI)
Template Designs
Copy URL and paste into Image URL section of the Open box (must include http://)
Blank Templates (Although they appear to be blank, you can use these in the "Image URL" area of the Open window to open an image that is the size of your book (Copy full URL including http://):
5 1/2" x 8 1/2":
http://biblioyou.com/BiblioCoverDesigner/CoverTemplates/HalfLetterblank.png
6" x 9":
http://biblioyou.com/BiblioCoverDesigner/CoverTemplates/6x9blank.png
8 1/2" x 8 1/2":
http://biblioyou.com/BiblioCoverDesigner/CoverTemplates/8x8blank.png
8 1/2" x 11":
http://biblioyou.com/BiblioCoverDesigner/CoverTemplates/Letterblank.png
Saving/Submitting Covers
*NOTE: When saving files in Safari and some other browsers, the Save button will open the image in a new browser window. To save the file to your computer, you must then right-click on the image and choose Save Image...
A few thoughts about design
A good professional cover is simple and clean. It shouldn't be too busy, nor should it ever include graphics such as clip art or non-professional drawings. The less text and graphics on the front cover the better. Text should include the title, the author's name, and perhaps a very brief subtitle or description. Don't try to include numerous reviews, or long descriptions on the cover. These can be placed on the back cover, or better yet, in the book itself. The back cover should include a few small paragraphs that "sell" the book, and perhaps a brief author bio with a small author photo. Remember to leave room at the bottom of the back cover for the publisher's info and a barcode. BiblioYou will furnish the ISBN and Barcode for a book published through the BiblioYou platform at no cost.
Finally, when creating cover files, do not place important elements too close to the outher edges of the cover. Try to keep the at least 1/4" to 1/2" away from the edge. When a book is printed, it is bound and then the dges are trimmed. Items that are to near the edge may be cut off in this process (Does not apply to eBook covers). As an alternative, you can add .125" to the trim areas (bleeds) of the cover file to ensure that trimming will be safe, or will trim to particular elements.
Basic Image Operations
#Crop
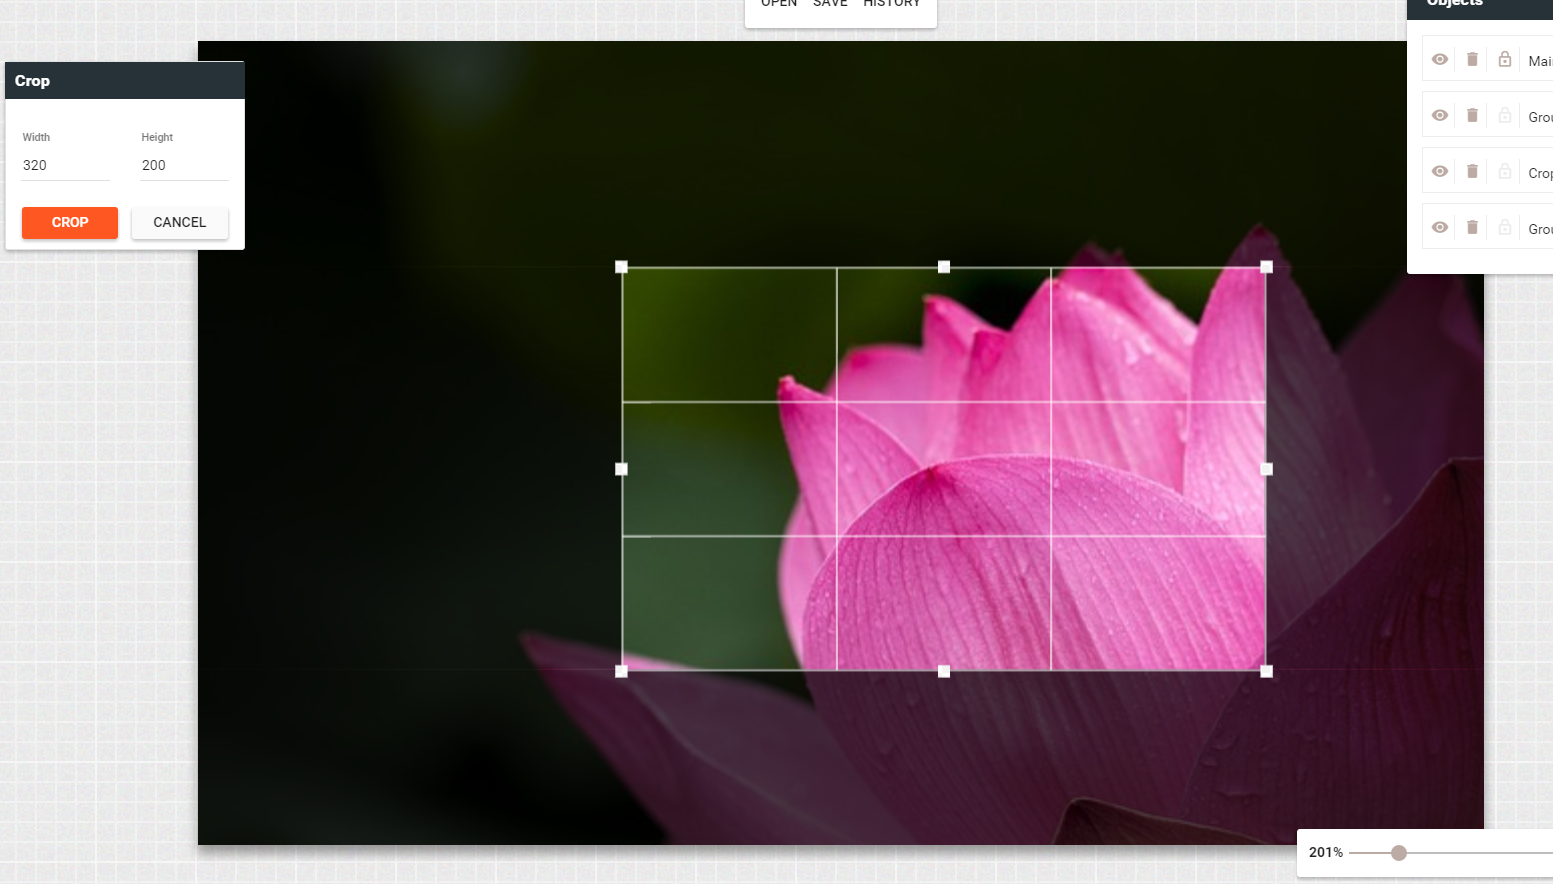
To crop the image click on the corresponding icon in the basics panel. After croping square appears on the image position it where you want by dragging it then click crop to finish.
#Rotate
To rotate an image click on the rotate icon and use the slider to rotate the image, click apply after you are done.
#Resize
To resize an image click on the resize icon and enter the image dimensions you wish to resize to. constrain proportions switch will assure that aspect ratio is preserved. You can also use the percentage slider to resize the image by certain percentage while keeping the aspect ratio.
#Round Corners
To round image corners click on the round icon, select the radius you want and click apply. Note that currently rounded corners will appear jagged on chrome due to a bug in it so you should use firefox or IE if you need perfectly round corners.
#Color
The color icon will change the canvas background. This will only work if your image doesn't fill the entire canvas.
#Merge
Merge will merge all the layers/objects, after this they will not be movable or modifiable, but you will be able to apply filters to everything instead of just the images.
Adding text
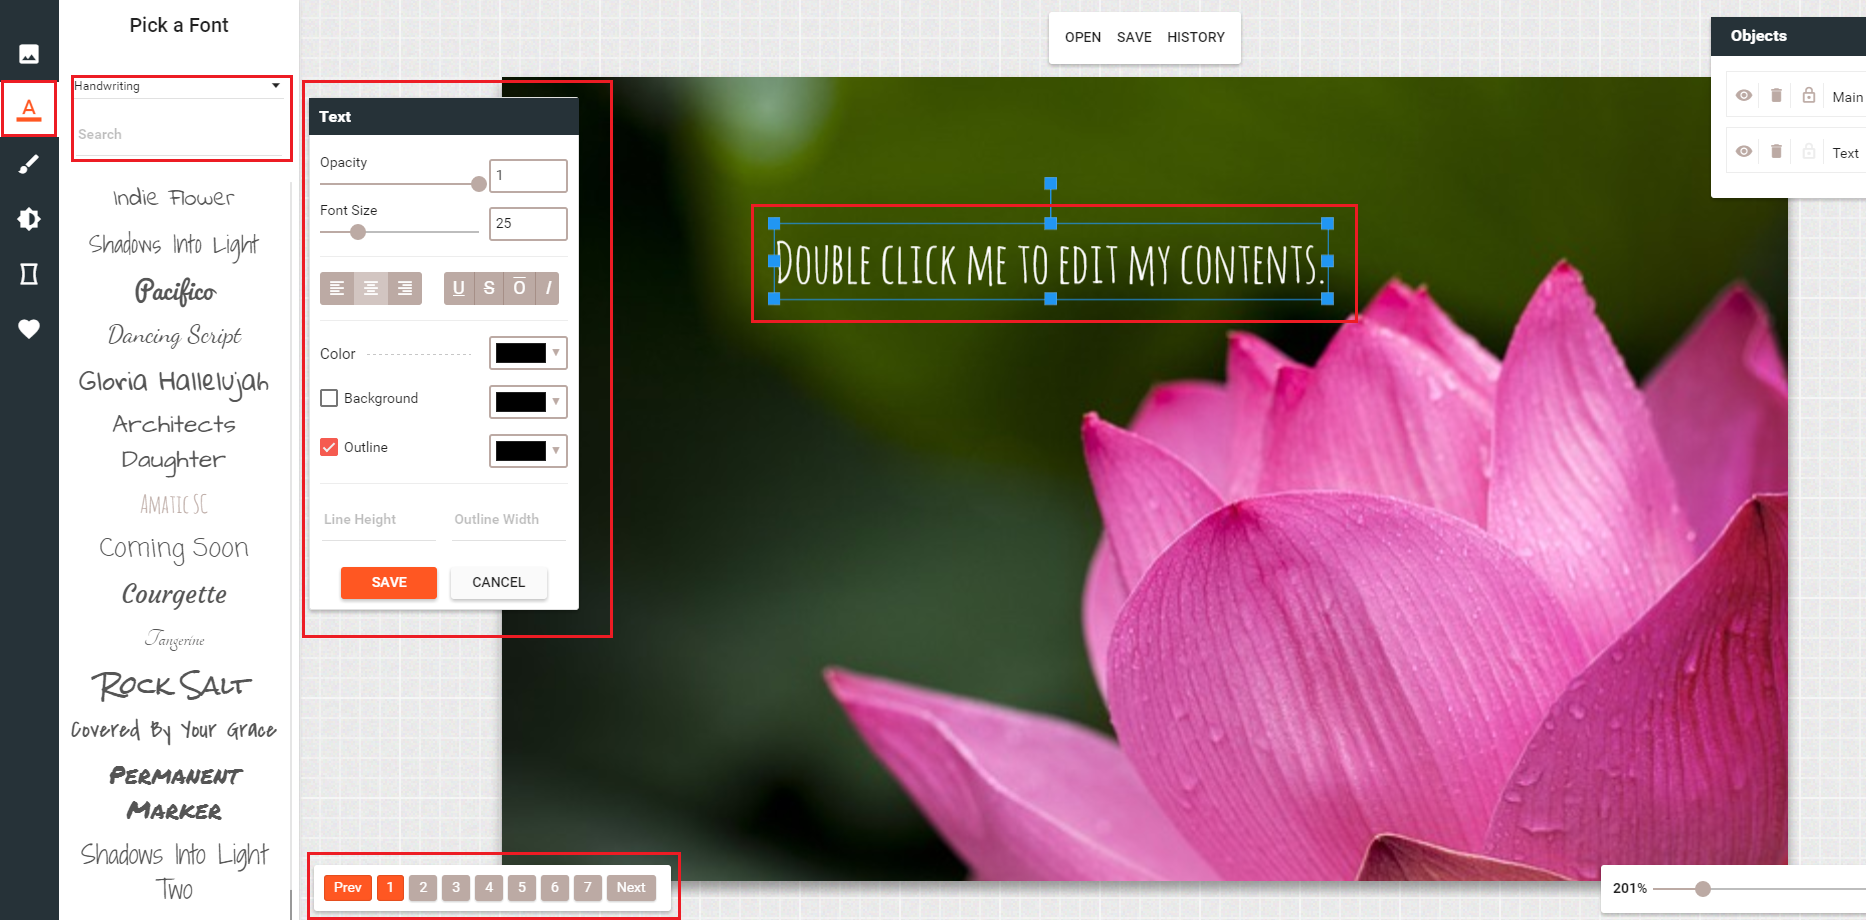
To add text to your image open the text tab from the left sidebar and click on the font you want. You can filter the fonts by searching for them by name or selecting a category at the top of text tab and you can change to the next fonts page by using pagination at the bottom. You can choose from all 600+ google fonts. Double click the text in the image to change its contents. You can change the page appearence from the panel that opens up when you click on text.
Free Drawing
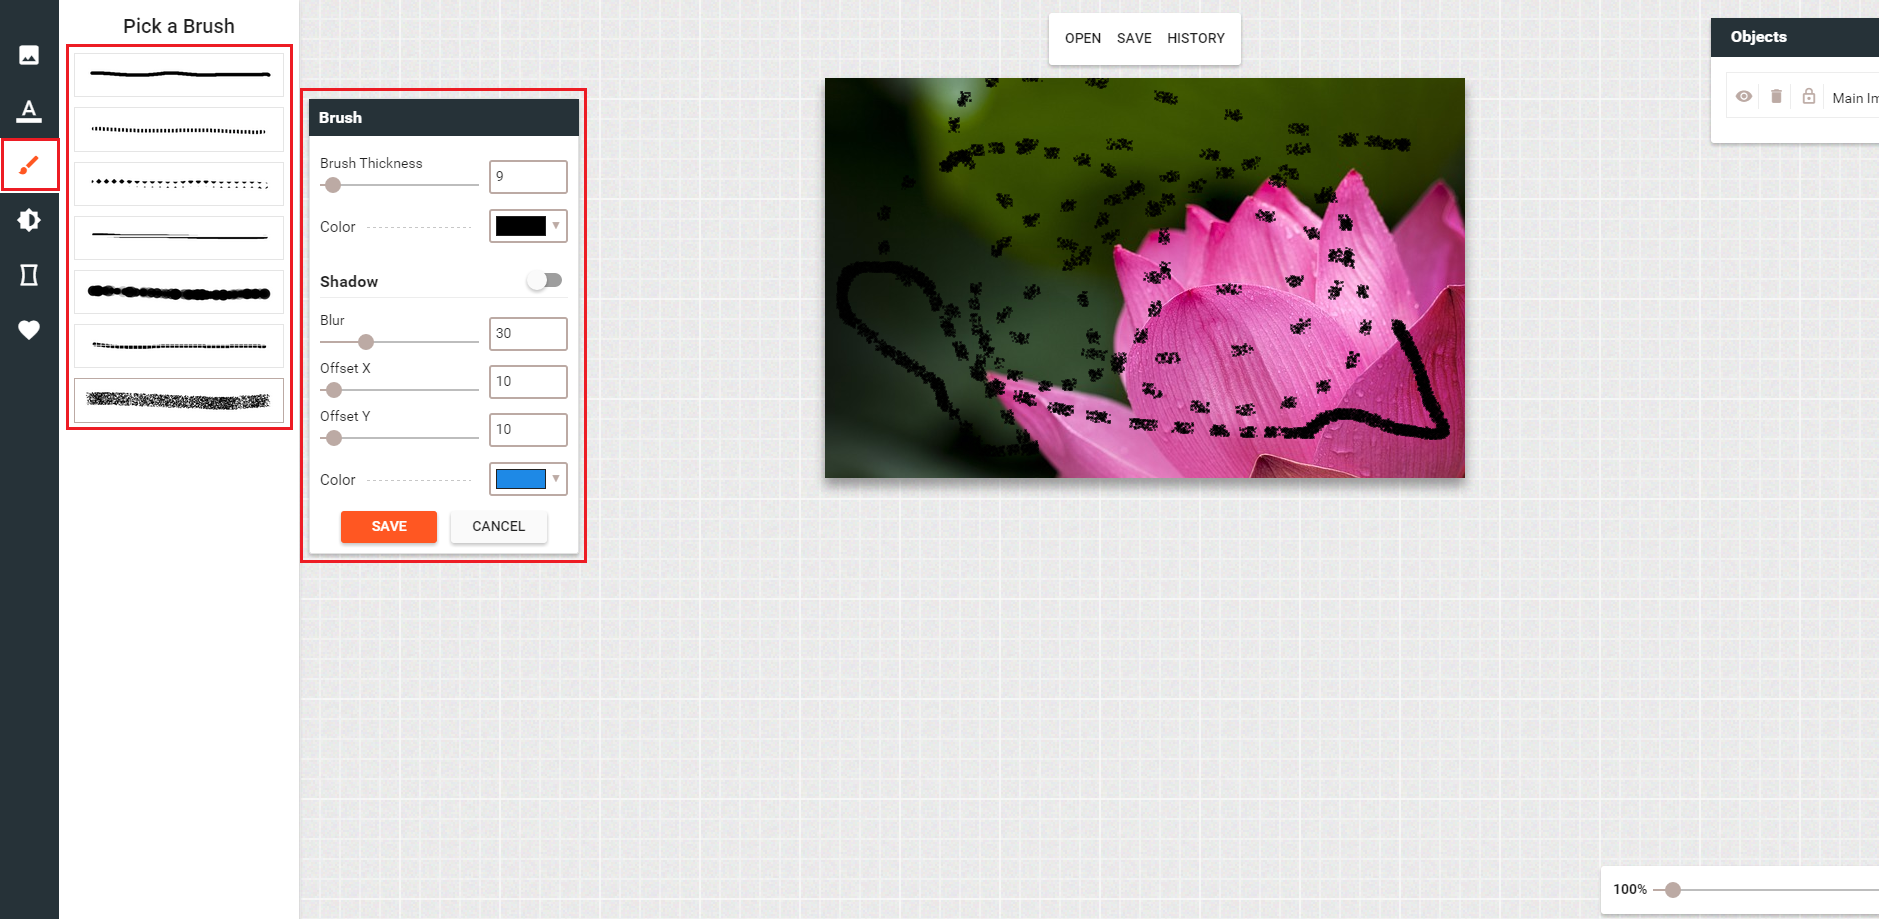
To draw select a brush you want from the free drawing panel and then simply click anywhere on the image and drag the mouse without releasing the mouse button. You will need to change the settings you want in the drawing panel before you start drawing as those settings will not be changable afterwards. Also don't forget to click apply after you are done otherwise the drawing will not be preserved.
Filters
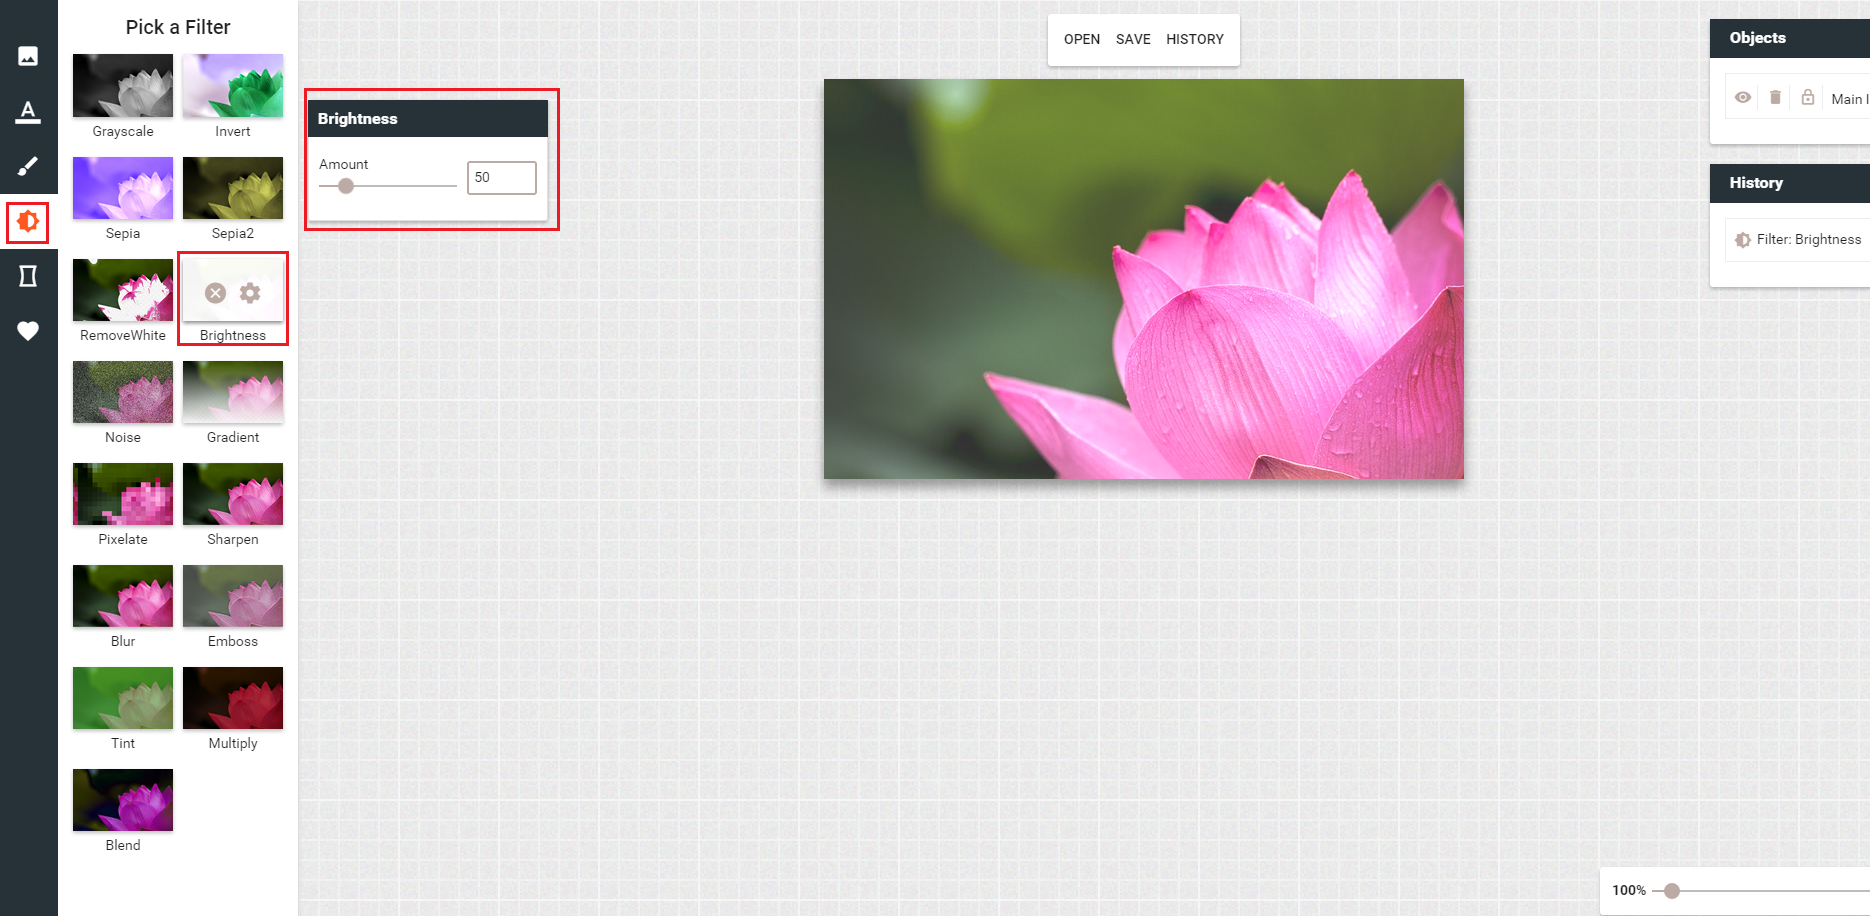
To apply filters to images, open filters tab and the select the filters you want. You can click on the X icon to remove the filter and on gears icon to change it's settings. Note that filters will only be applied to images and not other objects like text and drawings, if you want to apply filters to everything you will need to first merge the layrs from basics tab.
Basic Shapes
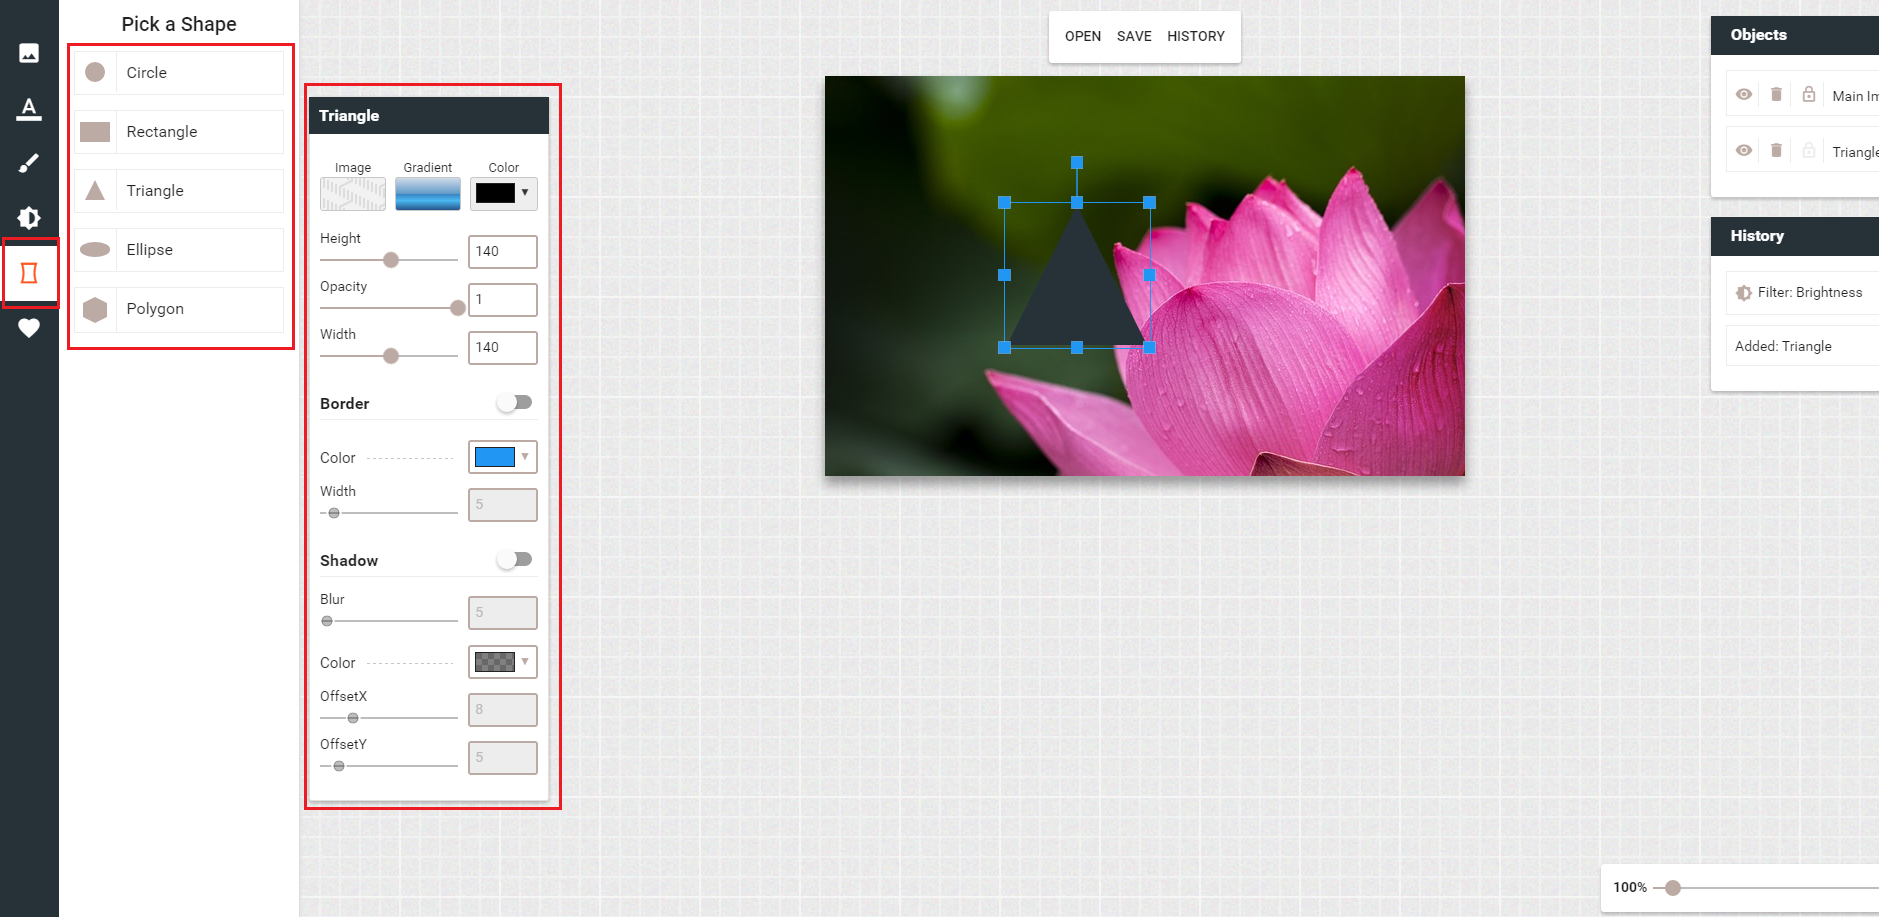
From the shapes tab you can add multiple shapes to your image, you can position the shape by clicking on it and dragging it around. You can change a variety of shape settings in the shape panel including applying a custom background to it.
Layers/Objects
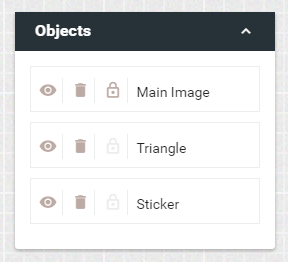
You can manage all the objects in your image from the object panel on the right. Click on object to select it, click on the eye icon to toggle it's visibility, click on the trash icon to delete the object and click on the lock icon to lock object in place preventing it's movement via drag and drop. You can also control objects z-index by changing their order in the objects panel.
History
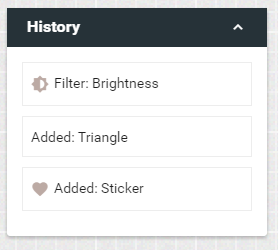
Almost all of your actions will create a new item in the history panel so you can easily jump around to various points in time in your project from it by click on a specific item. History actions are listed from first to last actions from top to bottom. To move backward in the history of your actions, click an action higher on the list and to move forward, click lower on the list. All actions after the action you choose will disapper from the project. Click back down the list to re-add the actions.
Support
If you have any problems or questions, please use the contact form on pixies codecanyon page support tab to send us a message instead of doing it in the comments, so we can resolive it as fast as possible, thanks!